Blog
How to Build a Red Light Therapy Routine at Home
How to Build a Red Light Therapy Routine at Home
Building a red light therapy routine at home has grown in popularity thanks to its ability to support skin health, reduce inflammation, and promote muscle recovery—all from the comfort of your home. If you’re ready to start your own red light therapy routine, here’s a simple guide to help you get the best results.
Step 1: Choose the Right Device
First, select a red light therapy device that fits your needs and budget. Options range from handheld devices to larger panels. Look for devices that emit red and near-infrared wavelengths (typically between 600-850 nm) for maximum effectiveness. Reading reviews and checking for certifications can help you pick a reliable product.
Step 2: Set a Consistent Schedule
Consistency is key with red light therapy. Aim for 3-5 sessions per week, with each session lasting 10-20 minutes. You can adjust the timing based on your goals—shorter sessions for skin care and longer for deeper muscle recovery.
Step 3: Prepare Your Skin
For optimal light absorption, expose clean, dry skin during your session. Avoid applying lotions or oils right before treatment, as they may block light penetration.
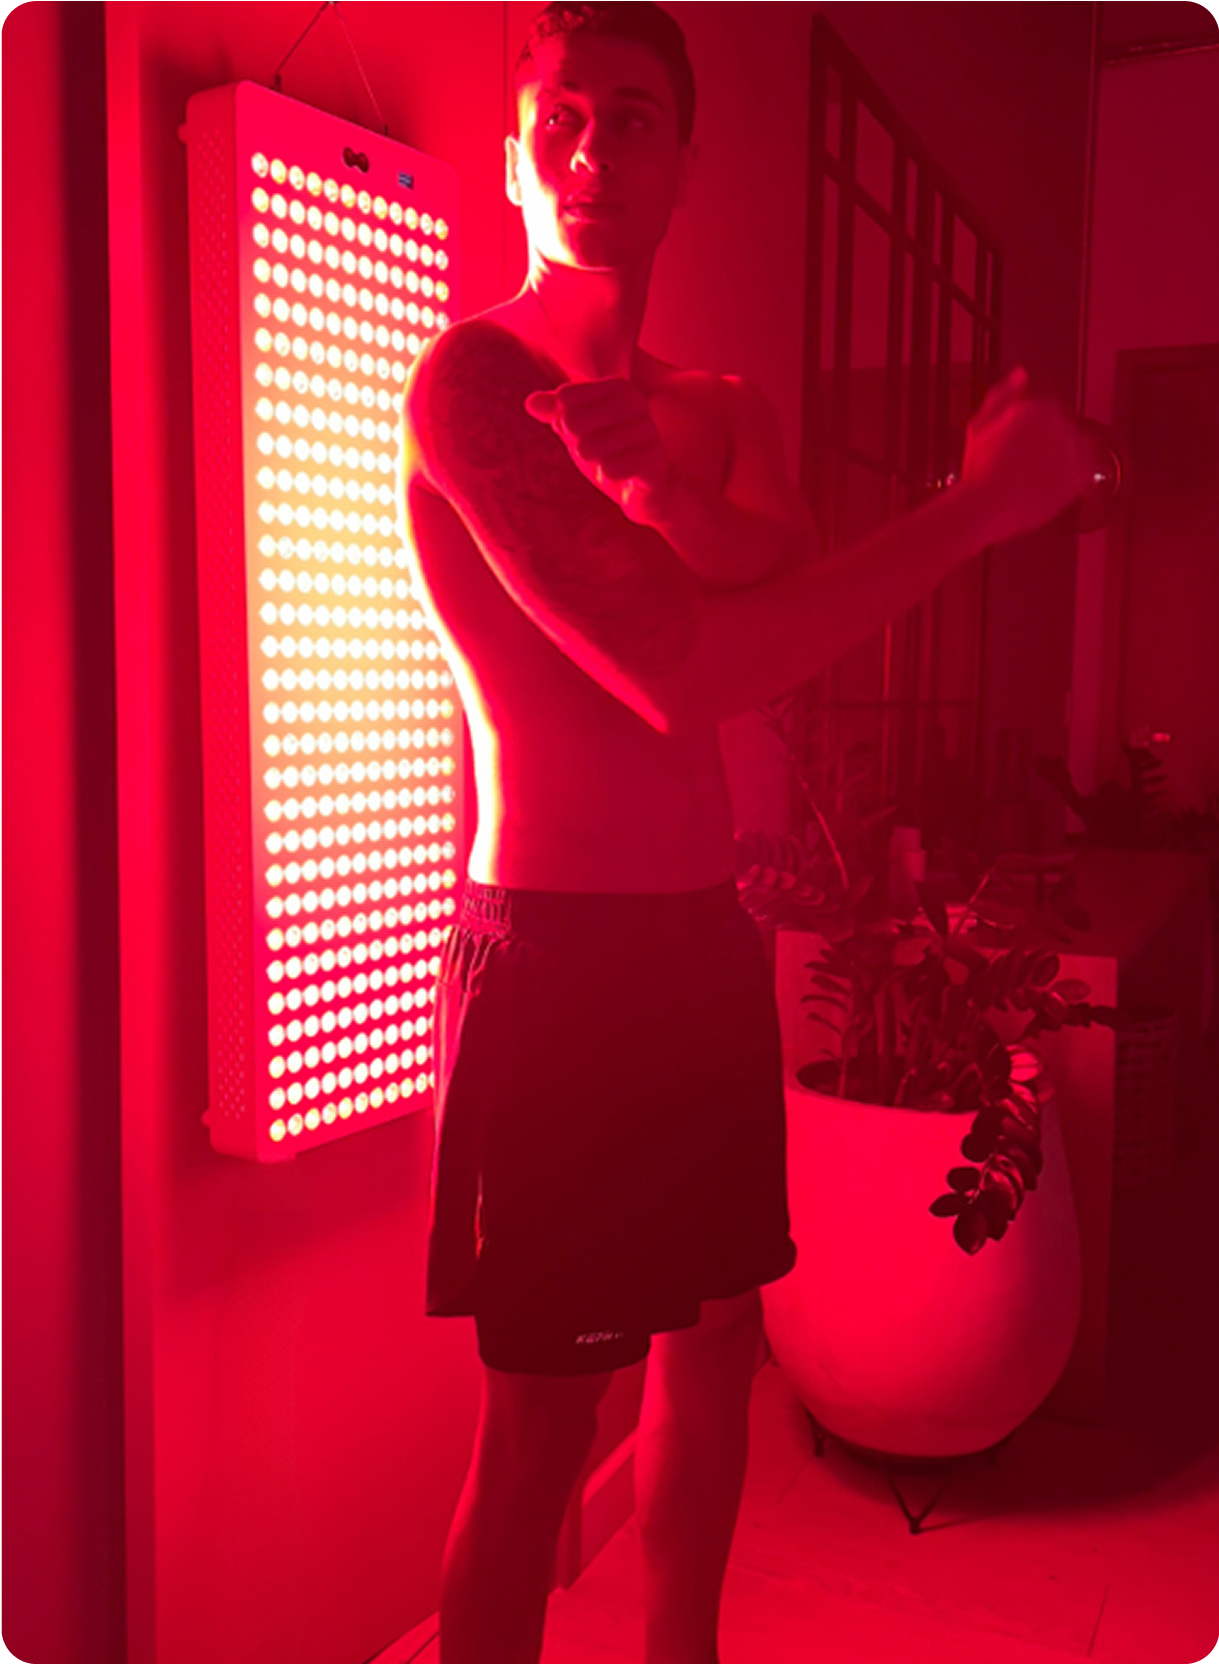
Step 4: Position Your Device Properly
Place the device 6-12 inches away from your skin, depending on the manufacturer’s guidelines. Target the area you want to treat, whether it’s your face, joints, or muscles.
Step 5: Track Your Progress
Keep a journal to monitor improvements in skin texture, pain relief, or sleep quality. This helps you stay motivated and adjust your routine as needed.
Step 6: Combine with Healthy Habits
Red light therapy works best alongside a healthy lifestyle—balanced diet, hydration, and regular exercise can amplify benefits.